Skip to content


How to Arrange Flowers Like a Florist: A Beginner's Guide
Arranging flowers can transform any space. Whether for your home or as a gift, a beautiful bouquet brings life and color. While florists make it look easy, the skills needed are simple to learn. This guide shares the basics of flower arranging in a fun, easy way.
Nothing lifts the mood like fresh blooms. Their sights, scents, and textures light up a room. Yet arranging them well seems like an art. Pros make arrangements pop with just a few stems, but with practice, you can too.
This guide demystifies floral design. We'll walk through selecting containers and prepping flowers, then share basic techniques to build beautiful bouquets. The right tools and small adjustments make a huge difference.
You'll feel confident creating arrangements worthy of any table by the end. It may seem fiddly at first, but stick with it. With each new bouquet, your style will grow. Don't stress over perfection, either. Imperfection can be charming in flowers, too.
Tools for Flower Arranging
Proper tools will help you arrange flowers like the experts. Floral artists use certain supplies just as painters rely on brushes and paints. A few key items belong in your kit to craft arrangements worth displaying.
The Floral Knife
A sharp floral knife makes clean cuts through stems without damaging flowers. Hold the stem and pull the knife towards you for best results.
Branch Cutters
branch cutters can cut through tough, woody stems better than scissors alone. Strong stems provide structure for fuller, longer-lasting designs. It's worth investing in a durable pair that withstands daily use without getting dull.
Thorn Strippers
A thorn stripper quickly removes thorns and leaves from rose stems before arranging them.
Floral Cages and Frogs
For large arrangements, use a floral cage or frog to secure stems. Cages attach to vases, while frogs have prongs to hold stems.
Floral Tape and Wire
Green floral tape and wire help position and secure stems. Tape covers mechanics, while wire shapes and supports blooms.
Floral Foam and Adhesives
Wet floral foam hydrates the stem to prevent wilting. Floral adhesives glue delicate pieces like petals.
Finishing Solutions
Finishing sprays extend bloom life and reduce moisture loss, keeping arrangements vibrant longer.
Step-by-Step Flower Arranging for Beginners
With your tools assembled, it's time to start arranging! As you'll see, there's an easy process to follow that ensures professional-looking results every time:
Step 1: Decide on a Design
The first step in arranging flowers is deciding on an overall look and feel. An elegant arrangement has an intentional design, not just a random mix of blooms. Start by picking a color scheme as your guide. You could go for a monochrome vibe using different shades of one color. Or liven things up by combining contrasting yet complementary tones.
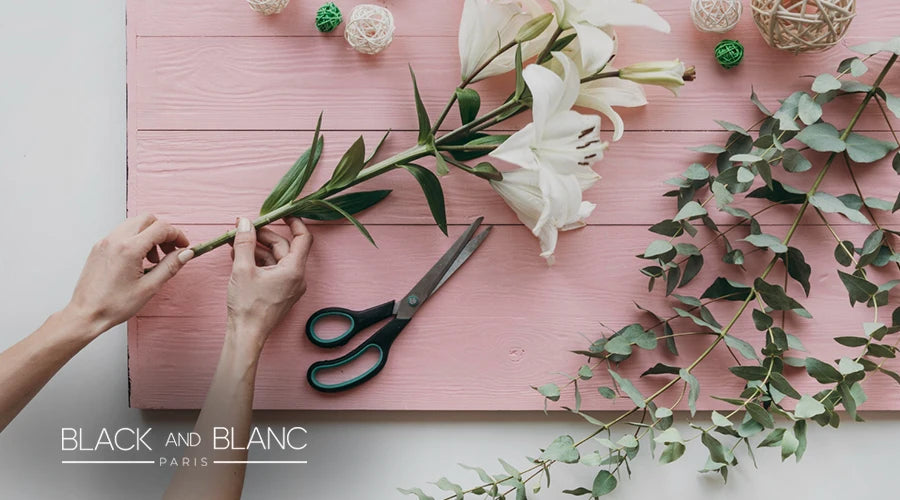
Step 2: Prepare the Flowers
Before arranging, you need to prep your flowers for maximum longevity. Start by removing any leaves that would sit below the water line—these will start to rot and breed bacteria quickly. Recut all stems at a diagonal underwater or while holding them under running water to encourage better drinking. Add a floral preservative solution or a few drops of bleach to kill microorganisms.
Step 3: Choose the Perfect Vase
The vase you select should complement the size and style of your arrangement. Pick one with a wide enough opening to insert stems easily but not so big that slim flowers get lost. The material also matters - sleek glass or ceramic looks modern, while rustic woods and metals lend an earthy, organic vibe. As a rule, the taller the container, the more vertical presence the arrangement will have.
Step 4: Build a Sturdy Base
Having a solid foundation before adding flowers is key for long-lasting arrangements. Create a grid by stretching crisscrossing pieces of waterproof tape over the vase opening, or use a pin frog to anchor stems. You can also make a grid by bunching chicken wire into a ball shape that fits inside. This step ensures flowers stay upright.
Step 5: Start with Greenery
Build your arrangement using hardy greenery like eucalyptus, ivy, ferns, or olive branches. Envision the overall shape as an upside-down pyramid and fan the stems from a central point to establish that triangular form. This creates a lush backdrop while providing structure.
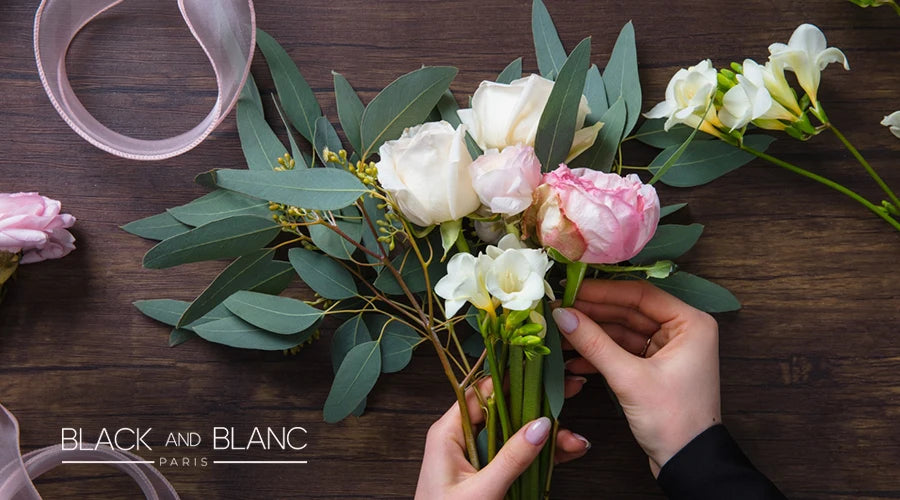
Step 6: Layer in Focal Flowers
With your green base in place, start adding your star attractions - the bold, vibrant blooms that will be the focus of the arrangement. Position these larger statement flowers in groups of threes or fives in the center and around the edges. Angle them facing different directions rather than fanning them straight out for visual interest.
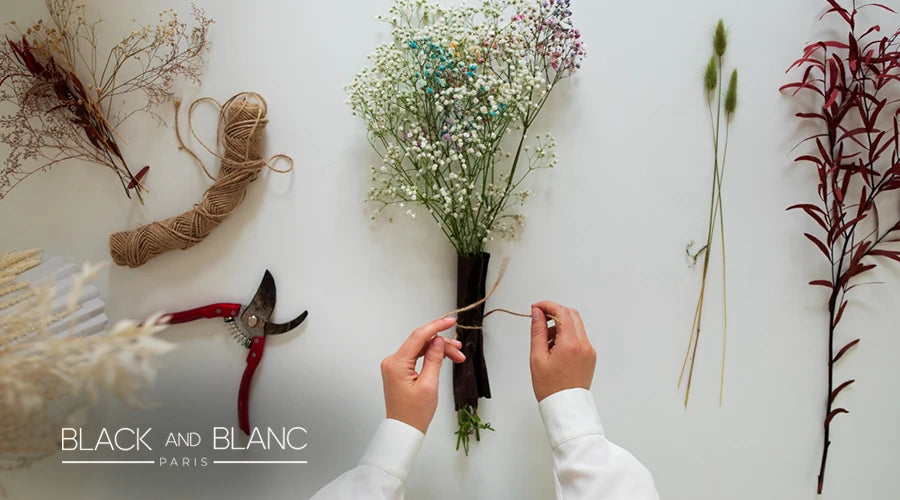
Step 7: Fill with Accents
Use smaller, lighter flowers like baby's breath or jasmine to fill gaps and trails between your focal blooms. Continue building different layers and grouping like flowers until you achieve a lush, overflowing abundance of textures and colors. Don't overcrowd, though - give each element enough breathing room.
Step 8: Add Finishing Touches
Once arranged, evaluate your handiwork and adjust by repositioning or fluffing stems as needed. For one last professional touch, lightly mist the entire piece to recreate a fresh, dewy look. Check that all materials below the water line have been removed, and top up the vase with cool water.
Step 9: Display and Maintain
Find the perfect spot to showcase your proud creation! Arrangements look best at eye level, never too high or low. Monitor the water levels daily; they change when they look cloudy. Recut stems and add floral preservatives to extend your bouquet's life span.
Tips to Arrange Flowers Like a Pro
Now that you know the basic process, here are some foolproof tips to help take your flower-arranging skills to the next level:
- Use the Right Ratio: A good rule of thumb is to make your bouquet around 1.5 times taller than the vase or container to create a balanced, pleasing aesthetic.
- Go Heavy on Greenery: Don't be afraid to load up on filler greenery - it should make up 60-70% of your arrangement's volume. More greens equals a lush, abundant look.
- Cut Stems Underwater: Always trim your stems while submerged or under running water so they can immediately start drinking up moisture.
- Work in a Spiral: Build your arrangement in a rotating, spiral pattern rather than combining all the same flowers for a more natural, free-flowing look.
- Let Flowers Open in Water: Give tight buds some breathing room. They'll open better if left to bloom in the water rather than being arranged closed.
- Use Odd Numbers: Arrange flowers in groupings of 3, 5, or 7 stems for the most pleasing, naturalistic presentation rather than rigid numerical symmetry.
- Consider Height Variations: Include elements at varying heights - some tall spikes, some at mid-level, and some trailing over the edges to create visual depth.
- Allow Movement and Asymmetry: Real flower arrangements have an effortless, unforced quality. Don't try to force perfect symmetry or linearity: let some pieces arc and bend.
- Add Unexpected Textures: Mix in whimsical accents like feathers, branches, air plants, or fruits and vegetables for added dimension and surprise.
- Reflect the Season and Setting: Choose colors and flowers that evoke the time of year or occasion the bouquet is celebrating. Deeper, richer tones work well for fall and winter, while soft pastels beckon spring.
Final Words
The Joy of Floral Arranging Designing gorgeous floral arrangements is an immensely satisfying skill. And it's easier to create displays worthy of a luxury hotel lobby. With the right tools and step-by-step guidance, anyone can learn to arrange flowers like a professional florist. Don't feel intimidated - embrace your creativity!
Floral design is about having fun playing with rich colors, textures, and fragrances. Let your style blossom as you coax garden elements into beautiful botanical pieces.
The key is to start simple and keep practicing. Soon, you'll fall in love with transforming basic blooms into stunning statements. Your home will always be graced with fresh, vibrant floral decor to enjoy. Arranging flowers allows you to bring the natural beauty of nature indoors.
Frequently Asked Questions on Flower Arranging
What's the best way to make arrangements last longer?
There are a few simple tricks. Always use a floral preservative in the water. Recut the stems regularly and remove leaves or foliage below the water line. Keep arrangements out of direct heat and sunlight. Finishing sprays like Crowning Glory can also dramatically extend a bouquet's freshness.
How do I prevent vase water from getting cloudy?
Cloudiness means decomposition started. Change the water daily and trim stems often to remove blooms or buds falling off. Some green preservatives in freshwater also help slow the growth of bacteria, keeping it cleaner for longer.
Is there a way to make flowers last if I can't keep them in water?
Crowning sprays and solutions reduce moisture loss and wilting even without a vase. Liberally mist the blooms and keep them in a cool, shaded spot away from sunlight.
What kinds of flowers work best for arrangements?
Go for sturdy blooms over delicate ones if you want an arrangement to last. Roses, carnations, mums, lilies, and sunflowers tend to hold up well, keeping their shape and color longer. They'll give you fuller arrangements that don't wilt as fast. More fragile flowers may be best saved for short-lived single events.